
You know those ballet nightmare experiences? The ones where, in the moment, your entire ballet soul is being crushed by the weight of your hideous dancing? The ones where even years later you look back and still groan in pain because the horror remains ever so vivid? Have you ever had one of those?
Of course you have. Haven’t we all? Mine came in the form of a promenade.
I could write and write and write about my particular horror but I will spare you and simply say I was 15 years old when it happened. It included a delayed flight to a summer intensive, severe motion sickness, flailing myself and my luggage into a cab, rushing into a placement class while enormously dehydrated from said motion sickness, and culminating in me literally falling on my face during a promenade while front and center in the adage.
Needless to say I was not placed where I wanted to be and that summer held many trying life lessons for me. Not the least of which was, “when it comes to promenade, don’t have a delayed flight.”
Promenade Prerequisites
I am a firm advocate for teaching things slowly. I appreciate mastery and excellent attention to small details. I believe in learning one concept at a time and having ample time to understand how that one concept connects to the previous learned concept. Knowing that, take whatever of mine helps you and leave whatever doesn’t. We all have unique teaching styles and that is part of what creates the vibrancy of ballet education.
Here is a short checklist of items that must be in place before I begin introducing promenades:
- Shoulders and hips rotate as one unit in simple chaîné/waltz/bourrée turns. They are also able to hold this unit when doing simple jumps that rotate.
WHY: This is the absolute foundation of promenade. Without this in place, there is no promenade.
- The body is held tall consistently with the upper body remaining slightly in front of the hips. This alignment must be consistently executed throughout class.
WHY: This placement ensures a supported core which reduces risk of injury, particularly to the back and hips. It also enables the dancer to be stronger and more consistent with the first concept.
- Hips are pulled up and legs are lengthened, both while standing and while moving.
WHY: A relaxing or sinking in these areas will cause turnout to collapse which results in a lopsided promenade and possible strain on the knees. This concept should be understood well before attempting promenade.
- The feet must be strong and articulate. Moving through demi pointe, standing on a high demi pointe, stretching the foot fully with lengthened toes—these are all things that demonstrate a strong ballet foot.
WHY: The weight in promenade is held directly over the ball of the foot which requires no small amount of strength and awareness in the feet.
- Balances on one foot a’terre are consistently strong.
WHY: A promenade is basically a balance that is rotating gently over the ball of the foot. A dancer must be able to hold the balance without rotating first.
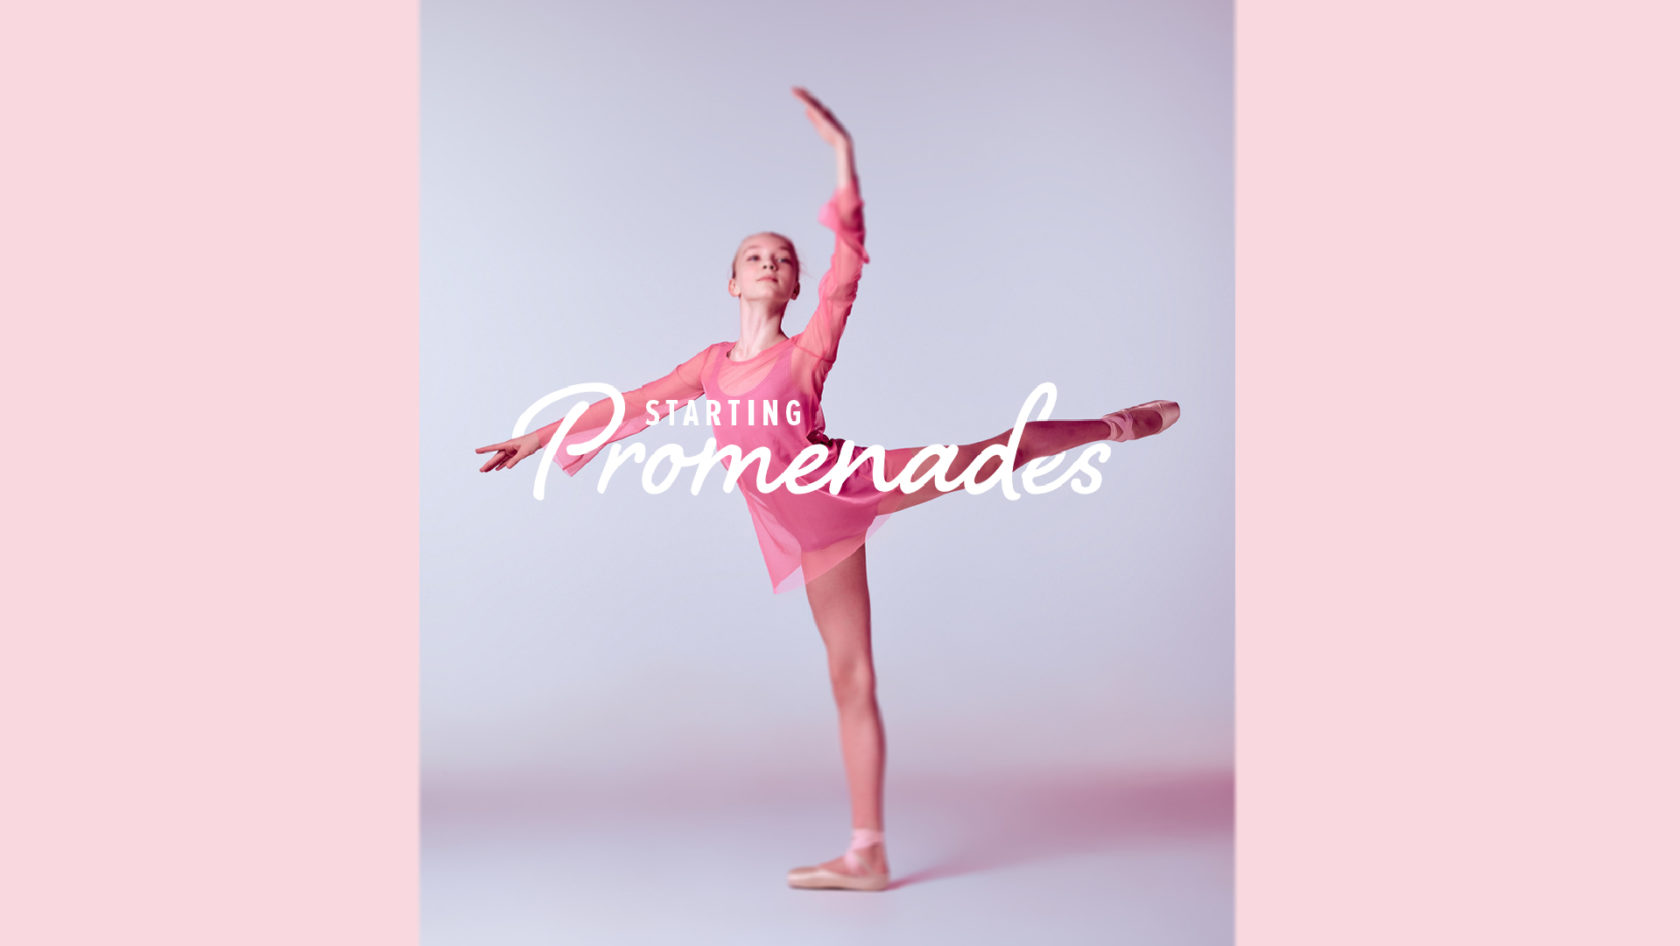
The First Promenade
I like this exercise because it moves slowly enough to ensure all the fundamentals are in place. It also introduces promenade in both directions which I find beneficial. With the barre to aid in balance, it removes just enough pressure from the student so they can focus on the needed concepts as opposed to just trying not to fall over.
- Start by holding the barre with the left hand.
- Place the right leg in coup de pied derriere.
- Execute 1/4 en dedans promenade to face the barre. Take the barre with both hands.
- Execute another 1/4 en dedans promenade to place the right hand on the barre.
- Execute 1/4 en dehors promenade to face the barre. Take the barre with both hands.
- Execute 1/4 en dehors promenade to place the left hand back on the barre.
- Finish.
Once this simple exercise is done well, more challenges can be introduced:
- Replace the coup de pied with a low arabesque (or some other position).
- Connect the quarter promenades by not taking the barre with two hands to create a half promenade.
- Continue the promenade around to complete a full rotation.
- Change the position of the working leg at various points within the promenade.
- Etc.
Centre Promenade
Once the barre promenade is established, I move it to the centre. I do this en face to help them feel each quarter of the promenade and to ensure everything is squared up properly. Then I will change their starting point to the corner or the side, etc.
I find that students who have a good understanding of the dancer’s square are less overwhelmed by promenade because they can see the points within the promenade so well. This allows them to break the movement down into very manageable sizes and create touch points (Example: As I pass the back corner of my box, am I still lined up properly? At which point in the square do I tend to lose my balance? Why?). A strong understanding of the square also helps organize advanced promenades where the working leg is moving from one position to the next, as well as integrating a spot into the movement.
Promenade is deceiving because it appears so simple. And in truth, it is simple. But the simplicity of it is what makes it so complex. There is no hiding poor technique when attempting a promenade; all flaws come shining through, which is why simple exercises work so well to teach it. And, because promenade utilizes so many ballet concepts, mastering it will have a deep impact on the rest of a student’s training.
Related Articles
- Mixing Up Port de Bras
- The Beginnings of Frappé
- The One Thing I Prioritize in Pirouettes
- Teaching Waltz Turn

Comments
No comments for this post.
Add Comment